We observe directly how overwhelming the gear selection feels for local homeowners.
If you are wondering how to set up a freshwater aquarium, success really comes down to preparing the environment. Our team knows that a proper start prevents the most common algae blooms and fish loss issues down the road. Once your tank is cycled, you can browse our freshwater tropical fish selection in store — every fish quarantined for two weeks before it gets sold. Let’s look at exactly what you need to buy and the steps to get your ecosystem running.
What you actually need (and what you do not)
Your first aquarium setup requires less brand-name gear and more focus on getting the right core pieces. Our standard 20-gallon new tank checklist strips away the unnecessary extras. You can expect a standard glass tank of this size to cost between $50 and $200 before equipment. We recommend a 20-gallon setup because larger water volumes dilute waste much faster than small bowls.
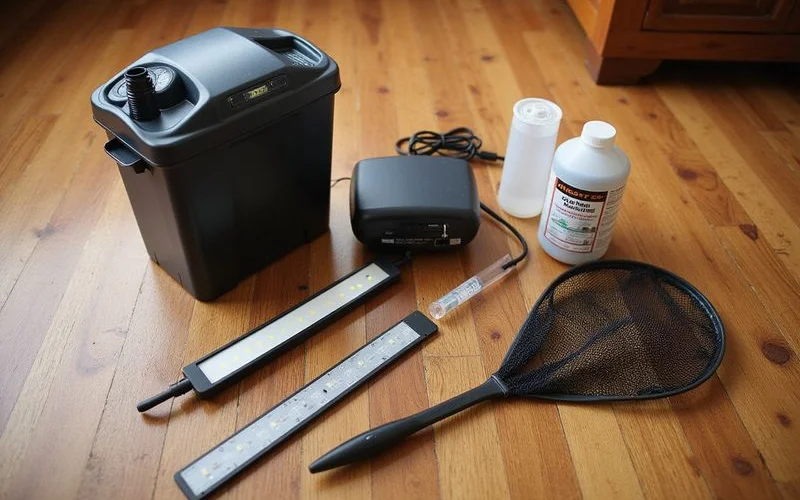
Here is the realistic checklist for a community tank:
- A 20- to 29-gallon glass tank with a fitted hood (do not skip the lid, as fish jump)
- A stand rated for the tank’s filled weight (water is about 8 lbs per gallon)
- A power filter rated for 100 to 130 GPH (Gallons Per Hour) for proper turnover
- A submersible heater rated at 5W per gallon
- 20 to 30 pounds of substrate to achieve a 1- to 2-inch depth
- A water conditioner that handles chloramines, like Seachem Prime
- A liquid test kit, like the API Master Test Kit, which performs over 800 tests
- Hardscape and plants or decor
You should completely skip gimmicky filters, bowl-only kits, tiny 1-2 gallon setups, and tap-water additives that promise an instant cycle.
Setup, in order
Getting the sequence right saves a massive amount of frustration. Our team suggests laying out all your equipment before adding a single drop of water. This simple step prevents scrambling for a missing piece while your hands are wet.
- Place the stand. Level it perfectly. Once water goes in, the tank is too heavy to move.
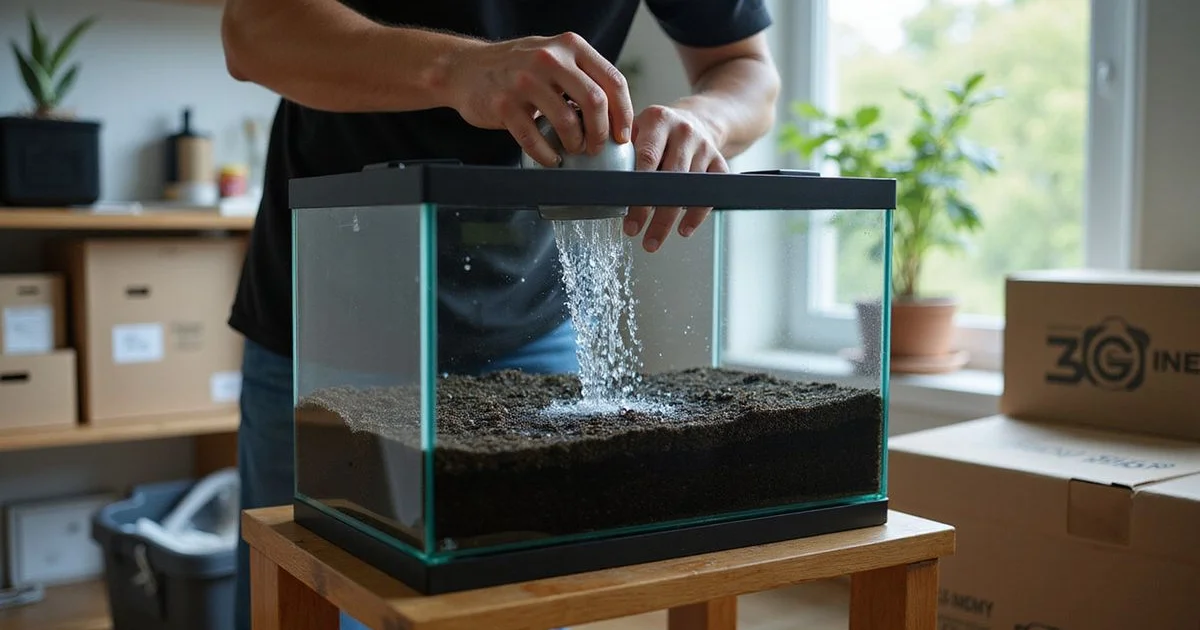
- Rinse substrate until the water runs clear. Spread the 20 to 30 pounds of gravel or sand evenly in the tank.
- Add hardscape like driftwood and rock. Plan your layout before adding livestock, as moving heavy rocks underwater is difficult.
- Fill with treated water. Pour the water onto a plate to avoid stirring up the substrate. Add your dechlorinator dose, which is just 2 mL (about two cap threads) of Seachem Prime for a 20-gallon volume.
- Install heater and filter. Plug in the heater first and set it between 76 and 78 degrees Fahrenheit. The filter primes and runs immediately.
- Run empty for 24 hours. Verify the temperature is stable, check for leaks, and ensure the filter provides good circulation.
- Cycle the tank. See the next section for exactly how to do this.
- Test water before adding fish. You are looking for zero ammonia, zero nitrite, and detectable nitrate.
The shortcut hobby trick:
A handful of media from an established tank (we will give you some for free) provides a massive head start. Combine this with bottled bacteria like FritzZyme 7 and an ammonia source to finish the cycle in 7 to 14 days, rather than the natural four to six weeks.
Cycling, the part you cannot skip
The nitrogen cycle converts toxic ammonia from fish waste into nitrite, and then into nitrate. Your tank needs to grow the beneficial bacteria that perform those conversions before you add any livestock. We see many new hobbyists rush this phase, which almost always leads to completely avoidable fish loss. Patience here builds a resilient and stable ecosystem.
Three Approaches to Tank Maturation
- Fishless cycle: Add a pure ammonia source like Fritz Fishless Fuel to hit 2 to 4 ppm, test daily, and wait. The process is complete when ammonia and nitrite both read 0 ppm and nitrate is detectable, which usually takes 3 to 6 weeks.
- Bacteria-assisted cycle: Add a live bacteria product like FritzZyme 7 alongside a small ammonia source. This method is faster but still requires 7 to 14 days of monitoring.
- Fish-in cycling: This approach stresses the fish and is highly prone to failure. Do not use this outdated method.
| Week | What you will see |
|---|---|
| 1 | Ammonia rises, nitrite stays at 0 |
| 2-3 | Nitrite rises, ammonia falls |
| 4-5 | Nitrite falls, nitrate rises |
| 6 | Ammonia and nitrite at 0, nitrate present, cycled |
| Bring a sample | We will test it free at the store |
Sarasota tap-water notes
Sarasota tap water is harder than ideal, registering at 200 to 300 ppm TDS. This measurement equals about 11 to 17 dGH (degrees of General Hardness). For most community tropical fish like livebearers, hardy tetras, gouramis, plecos, and corydoras, this is perfectly fine as long as you use a quality dechlorinator. Our local water profile works beautifully for these adaptable species.
For sensitive soft-water species like Discus or German Blue Rams, you will need RO/DI water. A Reverse Osmosis Deionization system uses a thin-film composite membrane to strip out 98 to 99 percent of all tap water impurities. You can learn more about matching fish to our local parameters in the Sarasota tap-water guide.
When to stock from us
Once your tank is fully cycled, bring a water sample to the store. We will verify your numbers, ensuring your ammonia and nitrite are strictly at 0.0 ppm and your nitrates are at a safe level. This free testing prevents you from adding fish to an unstable environment.
Our staff will then recommend a stocking list that fits your tank size and water profile. Every fish we sell is pulled from a strict 14-day quarantine. We proactively treat for common issues like Ich and gill flukes during this isolation period so you take home healthy livestock. You receive free water testing and expert stocking advice with zero upsell pressure.
Ready for your starter aquarium?
Setting up a thriving starter aquarium takes a little patience, but the beautiful results are completely worth the effort. Our team is always here to help you troubleshoot your water parameters or select the perfect plants and hardscape. Stop by the shop this weekend to grab your API Master Test Kit, and let us help you map out your new 20-gallon setup!